


How to add signature in outlook
How to add signature in outlook. It might be difficult and annoying to add a professional signature in Outlook, but it doesn’t have to be.
You can have a lovely Outlook signature by the end of this guide, just like in the sample below. I’ll walk you through the process of setting it up from A to Z in just a few simple steps. Additionally, I’ll expose you to ideas and resources that will make your task much simpler than it would be with the alternatives found in the majority of YouTube guides or the official Office help center guide.
How to add a signature in Outlook 2016-2019 (desktop)
STEP 1 Launch the in-app editor in Outlook.
Enter “signature” in the search box in the top-left corner of your Outlook window.
Select the result that says “Signature”
You will be requested to set a signature in Outlook using the in-app signature editor when you select “Signature” from the dropdown menu.

Step 2: Create a new Outlook signature

To make a new email signature, select the “New” button.
Name your updated signature (use a name that describes this specific signature well, in case you create multiples signatures in the future)
NOTE: If you are aware that you will require several Outlook signatures, please visit our article on how to manage multiple Outlook signatures.
STEP 3: Include your signature’s specifics

We’ll start by creating a simple text signature, the most basic type of Outlook email signature. This might be sufficient for you. However, I’ll eventually show you how to make a more deeper and more effective email signature if you’d like something more professional.
Enter your full name, your job title, and your contact details in the text area of the signature editor to create your text signature.
If this distinctive design suits your needs, you can end right here. Just select OK, and you’re ready to go. Continue reading for information on more complex signature traits.
STEP 4: Modify the signature style

By using different colors and font sizes for the most crucial information, you may change your Outlook signature to make it appear more structured and give it a clear visual hierarchy.
- Simply select the words in your signature with your cursor, click the Color drop-down menu, and then select your color, or click More colors (at the bottom of the panel) to select a unique color.
- Choose the text, then click the Font Size dropdown menu to experiment with different sizes until you believe you’ve found the right balance.
- Change the font type by selecting any text and selecting a new font type from the drop-down menu.
TIPS:
- Select one color (preferably one of the colors you use for your brand).
- Use one font size (12–14 px) for your contact information, and one larger font size for your name and job position (2-3px greater than the text for your contact details). To give your name a little more weight, make it bold and your job title regular.
- For the entirety of your signature, use just one typeface; otherwise, it will look jumbled.
STEP 5: Include a link in your Outlook signature.

- Select any text with your cursor to include a hyperlink in your Outlook signature (when text is selected it should have a grey background)
- then select the link icon located on the tool strip’s right side.
- Click OK after entering the URL you want the text to link to.
Your phone number should be clickable.
By creating a unique type of hyperlink, I made the phone number in the example image clickable.
- As opposed to before, I added a phone number with the prefix “tel:,” such as “tel:1-800-800-800.”
Make your neighborhood’s address clickable:
- Making your address clickable has benefits for both online and brick-and-mortar companies. You can configure it so that clicking it launches Google Maps navigation.
- Find your company on Google Maps, select “Directions,” then copy the URL from the address box to add a clickable local address.
Choose the email address from your Outlook signature, then click the link button as usual. Click OK after adding the URL you copied from Google Maps.
STEP 6: Add an image

- Wherever you wish to put your signature image, click with your mouse.
- On the tool strip’s right side, select the picture icon.
- the photo from your computer and upload it
Image scaling:
- Click and drag any of the black squares on the image’s corners to resize the image to fit your preferred signature design.
Your image should be clickable.
- Cursor-select the image you want to link to, then click the link button in the toolbar, enter the URL, and click OK.
Include links and social media icons:
- Follow the same procedures as described above for adding an image with a link to add your social networking icons.
- To link them to your social network page, just add them as photos, drag them into the desired location, choose the icon, and click the link button on the toolbar.
- See our more sophisticated instruction on how to add social symbols to your Outlook signature for a more polished appearance.
step 7: Set automatic Outlook signatures

You can choose whether or not you want your signature to show up in your New messages as well as in your Forward and Reply messages when adding a signature to Outlook automatically. This process is quite simple.
I) Open your Outlook editor and look in the upper-right corner.
There are two selection menus there, one for forwarding/replying messages and the other for setting an auto signature for new messages. You should have all of your accessible signatures on each option.
II) Select the signature you want to use for each type of message.
Click “OK” to save your work if you believe your Outlook signature is complete. Simply open a new message in Outlook to view your updated signature. At the bottom, your updated signature will show.
III) By selecting the “Signature” button in the top ribbon, you may manage your signatures right from the Message window. From there, you may select the signature you need for any particular email.
NOTE: This is not the end of the manual. Continue reading to find out how to add unique features to your signature, such as photographs, links, and videos.

How to negotiate salary. It’s not unexpected that many people find it difficult to request higher pay once their job hunt is over and they are in possession of an offer. They don’t want to risk the opportunity now that they’ve made it this far, especially if the pay is fair. However, as the 2023 […]

How to increase milk supply. Most of the time, even if you are unaware of it, your body produces just what your baby needs, despite the concerns of many mothers who worry about poor milk production. There are several techniques to determine whether your infant is receiving enough milk. There are methods you can use […]

How to buy bonds. It’s not as difficult as it might seem to purchase bonds. But before you buy, you must understand the various varieties and know what to look for in a bond. One option to invest is through bonds, which involve lending money to a government or firm rather than purchasing stock (like […]

How to answer tell me about yourself. The interview question “Tell me about yourself” may seem frightening, but it doesn’t have to be. Here are our top suggestions for a terrific response. When asked in an interview, “Tell me about yourself,” it can be challenging to respond if you are unprepared. Finding a job can […]
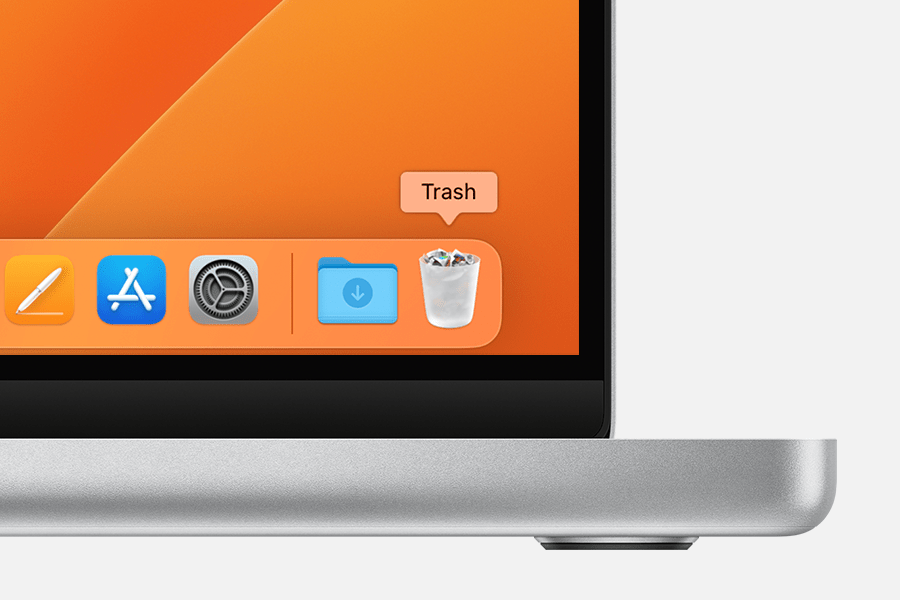
How to uninstall apps on mac An app can be deleted or uninstalled from your Mac in order to free up storage space for other things. Launchpad or the Finder are two options for doing this. Use Launchpad to delete apps that were downloaded from the App Store Launchpad offers a convenient way to delete […]
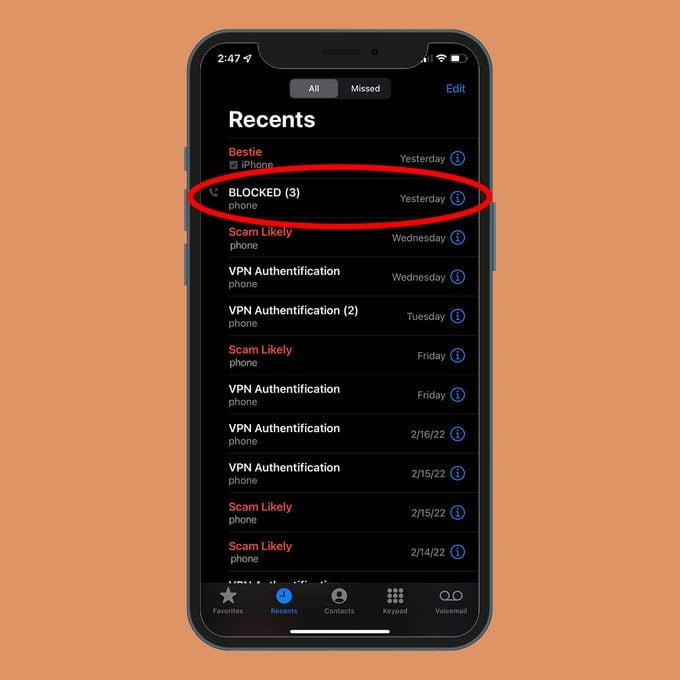
How to Unblock a Number on an Android Phone Here’s how to restore calls and texts from a blocked number on an Android device: Get the Phone app open. The More icon, which resembles three vertical dots, should be tapped. Select Blocked Numbers under Settings. The contact you want to unblock has an X next […]