How to descale Keurig
How to descale Keurig. Keurig makes a great selection of simple-to-use coffee makers that can brew a fresh cup in just a few minutes. Although these robust coffee machines require little maintenance, you will occasionally need to descale your Keurig device.
The accumulation of mineral deposits known as “scale” takes the shape of limescale and forms on the internal parts of your Keurig machine. Any coffee machine will eventually develop scaling, but it’s equally crucial to keep on top of eliminating it. Your Keurig may struggle to function correctly if there is too much buildup.
It takes around an hour to properly descale your Keurig, which you should do every three months.
Note that this is specifically about descaling. Check out our instructions on how to clean the coffee maker if you want to thoroughly clean a soiled Keurig.
Prepare your Keurig for descaling
It would be a good idea to quickly wash some of your Keurig’s brewing parts with soap before we get started. Try to give this initial step at least an hour of your time. Remove the lid, mug tray, and K-Cup holder after unplugging the maker. Rinse and dry the tray and holder after cleaning them with warm, soapy water. Use a damp, soapy cloth to clean your Keurig’s lid and body, and then let these components air dry.
Reassemble all of the parts after they have dried. You can now begin the descaling procedure.
Step 1. Empty your machine first, and then make space by cleaning out a nearby sink. Make sure there are no K-cups still within the brewer and remove any remaining water from the water reservoir.
Step 2. Make sure no one will require coffee for several hours and locate a large mug to use for draining.
Prepare your descaling agent
Now that the mineral deposits have been broken up, you need to run an acidic descaler through your brewer. There are two common descaling options, each having advantages and disadvantages.
Step 1. Choose a descaling agent
Descaling solution for Keurig machines: This product is sold by Keurig and costs roughly $15 for a single usage. It’s a simple solution that doesn’t take much work and, based on all accounts, eliminates scale. The solution, however, has a tendency to produce a citrus scent that can be difficult to remove and may even impact the flavor of your coffee, according to consumer reviews of the product.
White vinegar: White vinegar is affordable, easily accessible, and effective on a large scale. For a thorough cleaning, you’ll need at least a few cups, so you might need to purchase some especially for this task. Additionally, because it is vinegar, your kitchen or break area may first smell like vinegar.
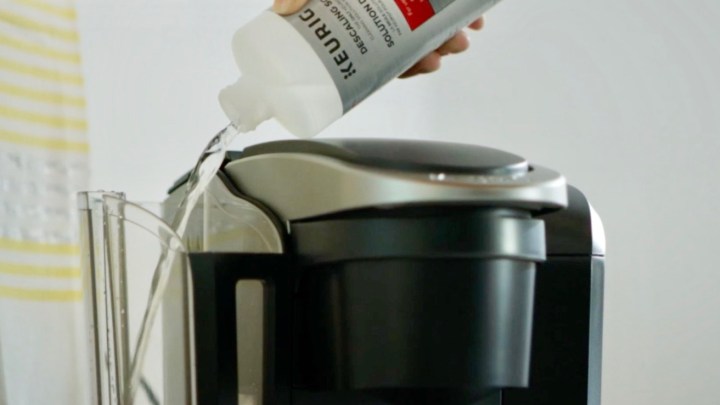
Step 2: If you’re using the Keurig solution, fill the remaining space with fresh water after pouring the entire bottle into the reservoir. Fill the reservoir with equal parts water and white vinegar, or even more vinegar if the descaling task is particularly challenging.
How to descale Keurig
The machine has to be cleaned now. Even on the proper setting, your Keurig might not be able to fill a cup to the top if it has a scale issue. It’s alright though because the solution takes some time to work.
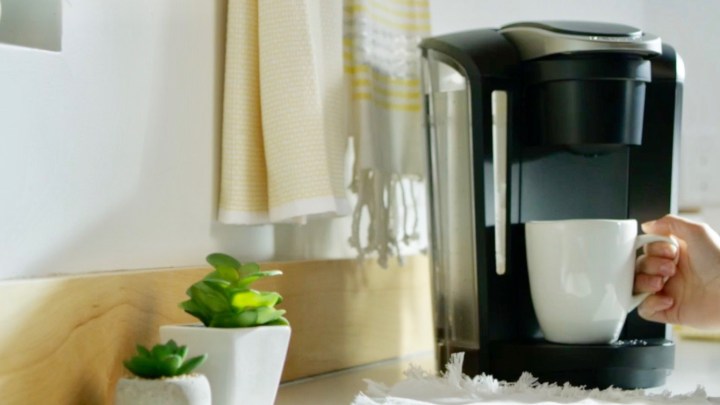
- You can make a larger cup of coffee if you have a thermos on hand, but a mug usually works the best. Set your Keurig for a standard, full cup of coffee. (Again, double-check that there are no K-Cups inside.) Wait for the cup to fill as the descaling solution is run through the machine.
- Pouring cup after cup of liquid down the drain continues to be done. Keep continuing until the reservoir is empty even though the room will start to smell strongly of vinegar if you used the white vinegar solution.
- When finished, the water should be more easily filling glasses and pouring more smoothly. If you see no change at all, you might try to repeat the operation using more solution in the reservoir.

Flush the Keurig with fresh water
Allow the acid to properly dissolve the scale still present inside the brewer by letting your Keurig sit still (while it is still turned on) for around 30 minutes. The final step is now ready for you to take.
- Wipe the reservoir down and thoroughly clean it to get rid of all the vinegar and solution. After you’re done, start totally draining out the descaling solution by adding clean water to the reservoir.
- Set the Keurig to create a full cup, then pour out each of the additional water cups after running the machine several times. Choose the carafe setting on your Keurig if it has one to keep the water flowing continuously.
- When the reservoir is empty, refill it and repeat the procedure. To fully clean out your Keurig, you need fill the reservoir with water at least twice. Make sure you have a way to catch and dump the water before you begin.
- Once you’re done, sip the water to see whether you can still taste the descaler. If you don’t think your machine is clean enough, repeat the process as much as necessary. You can never flush out your machine enough.
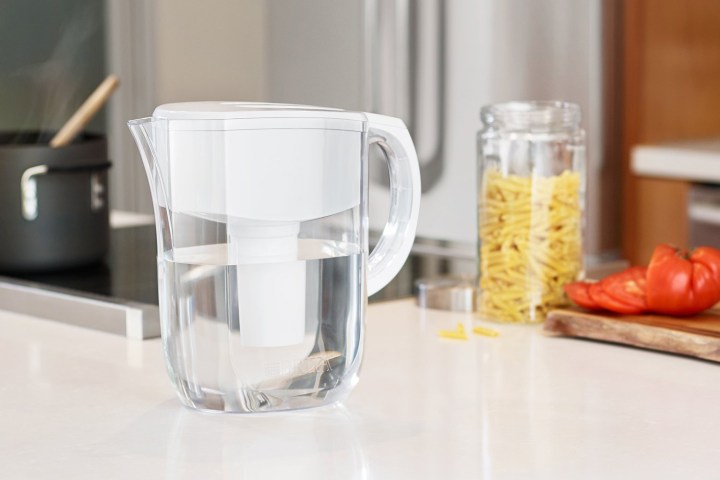
You should always use filtered or bottled water, as advised in your Keurig’s instruction manual, to prevent buildup brought on by the minerals and impurities present in tap water. It can make sense to get a filtered water jug specifically for your Keurig machine as buying bottled water frequently can grow expensive (and is bad for the environment). Your Keurig’s lifespan will be increased if you use filtered water. Long-term savings in time and money make the filter expense a worthwhile investment.


