


EASY WAYS TO BAKE, ROAST, AND PURÉE PUMPKIN
Picking the Right Pumpkin
It’s crucial to choose the appropriate pumpkin for the job before you start cooking.
- The “sugar pumpkin” or “pie pumpkin,” which you can find in the grocery store in the fall, is the most widely used cooking pumpkin. Compared to typical carving pumpkins, they are smaller and rounder. The flesh is also sweeter and less stringy than that of a pumpkin used for carving decorations.
- The Japanese Kabocha pumpkin, which is vivid orange in color, is another pumpkin that is excellent for cooking. It has a fluffy texture and is sweeter and more flavorful than sugar pumpkin.
Note: Keep in mind that pumpkins are all edible! Compared to the smaller sugar (pie) pumpkin, Jack-O-Lantern pumpkins tend to be stringier, less sweet, and more moist, although they can still be cooked and eaten.
Storing Pumpkins
Keep pumpkins cool, but not quite as cool as root crops, if you’re not intending to prepare them straight immediately. Storing them under the bed works nicely if your bedroom is moderately cool; just make sure you remember them. A garage, cool basement, or mudroom will also do. The ideal storage range for them is between 50° and 65°F (10° and 18°C).

How to Cook a Pumpkin
Baking Pumpkin
Cleaning, chopping, and placing a pumpkin in the oven are all that are required to bake one.
- Heat 325°F oven temperature.
- To get rid of any obvious dirt, use a vegetable brush to scrub the pumpkin’s exterior.
- After removing the stem, split the pumpkin in two (from top to bottom). With a spoon, remove any seeds and fibers from each half. Both an ice cream scoop and a serrated grapefruit spoon work well for this. If desired, clean and reserve the seeds for roasting.
- Pumpkin halves should be cut into smaller pieces, and the chunks should be placed skin-side up in a shallow baking dish with a lid.
- Cover the dish securely after adding water to just cover the bottom.
- When the pumpkin is delicate to the touch, bake for about an hour in the oven. Keep an eye on them because the time may vary depending on the size of your pieces. In case of uncertainty, cook longer; the pumpkin won’t suffer.
- After allowing it to cool for ten minutes, remove the peel or scoop out the flesh.
Roasting Pumpkin
Roasting the pumpkin at a higher temperature for a shorter period of time makes it much simpler to achieve that caramelized flavor. This is how:
- Heat 400°F oven temperature.
- To get rid of any obvious dirt, use a vegetable brush to scrub the pumpkin’s exterior.
- After removing the stem, split the pumpkin in two (from top to bottom). With a spoon, remove any seeds and fibers from each half. Both an ice cream scoop and a serrated grapefruit spoon work well for this. If desired, clean and reserve the seeds for roasting.
- Put the pumpkin on a baking sheet that has been parchment papered, cut side down.
- Bake the pumpkin for 35 to 50 minutes, or until it is almost completely collapsed.
- After allowing it to cool for ten minutes, remove the peel or scoop out the flesh.
Making Fresh Pumpkin Purée
This process requires 5 minutes: Simply use a food processor to puree the cooked pumpkin chunks until smooth. I’m done now! Purée must be used within a few days. Alternatively, freeze it for later use in large freezer bags.
(Note: Add water if your purée is too dry. Strain it through cheesecloth or a fine-mesh strainer if it’s too watery.)
Using canned pumpkin is perfectly safe; the texture is the key distinction. Homemade purée has a smoother, fresher, and more vegetal flavor. The spices added will dominate the flavor of the canned pumpkin. We like using our own purée as a foundation for soups, pumpkin bread, muffins, dip, and other recipes.
Roasting Pumpkin Seeds
Don’t throw away those pumpkin seeds! When spiced and roasted, they make a wonderful snack. See our recipe for roasted pumpkin seeds here.
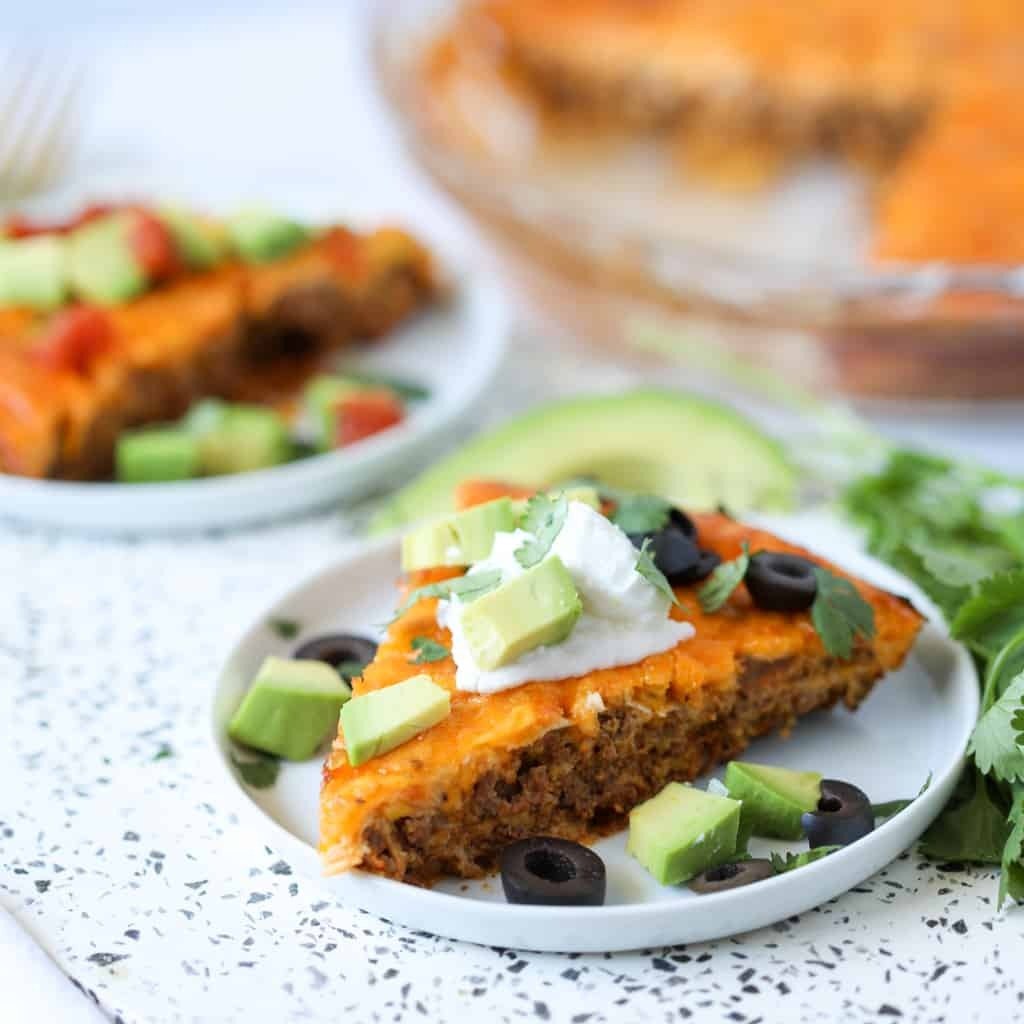
Crustless Taco Pie is a terrific way to experience a change from traditional tacos without adding gluten or refined carbohydrates. Only 3 net carbohydrates per serving! You’ll adore this low-carb taco pie dish, which uses ground beef, a flavorful sauce, lots of cheese, and your preferred taco toppings. Crustless Taco Pie Ingredients 1 pound of 80/20 […]
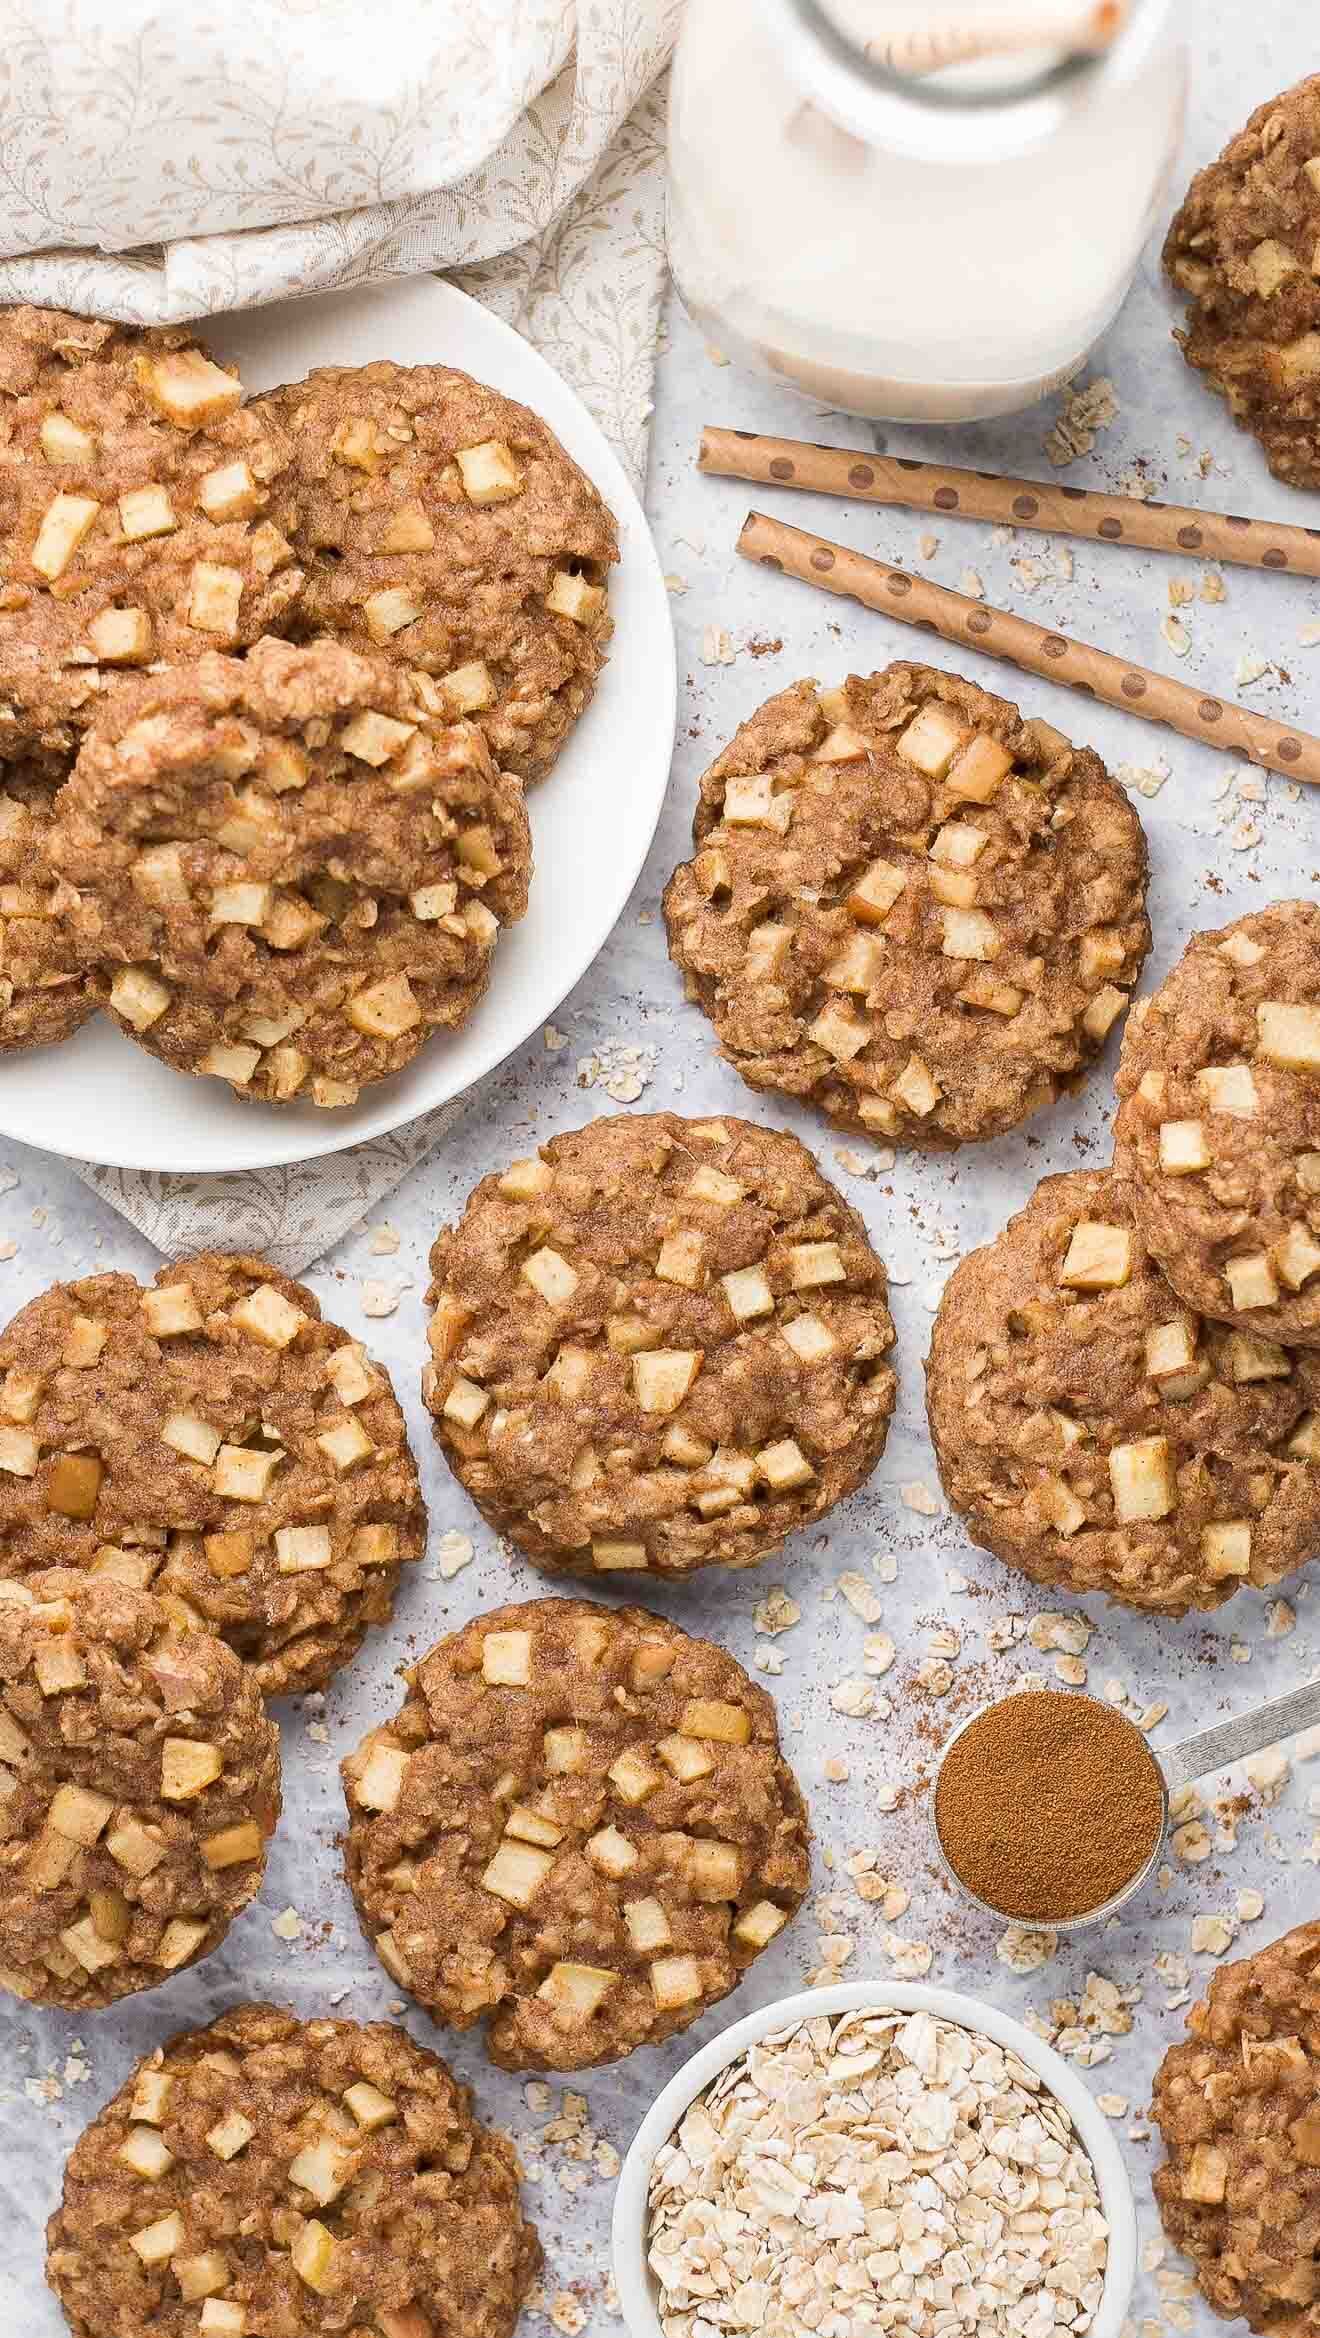
Healthy Apple Pie Oatmeal Breakfast Cookies are ideal for quick breakfasts on-the-go or even snacks! Like the well-known dessert, they are soft and chewy and packed with delicious apples and warming spices. If kept in an airtight container in the refrigerator, leftover cookies will last for at least a week. They also freeze quite well. A […]
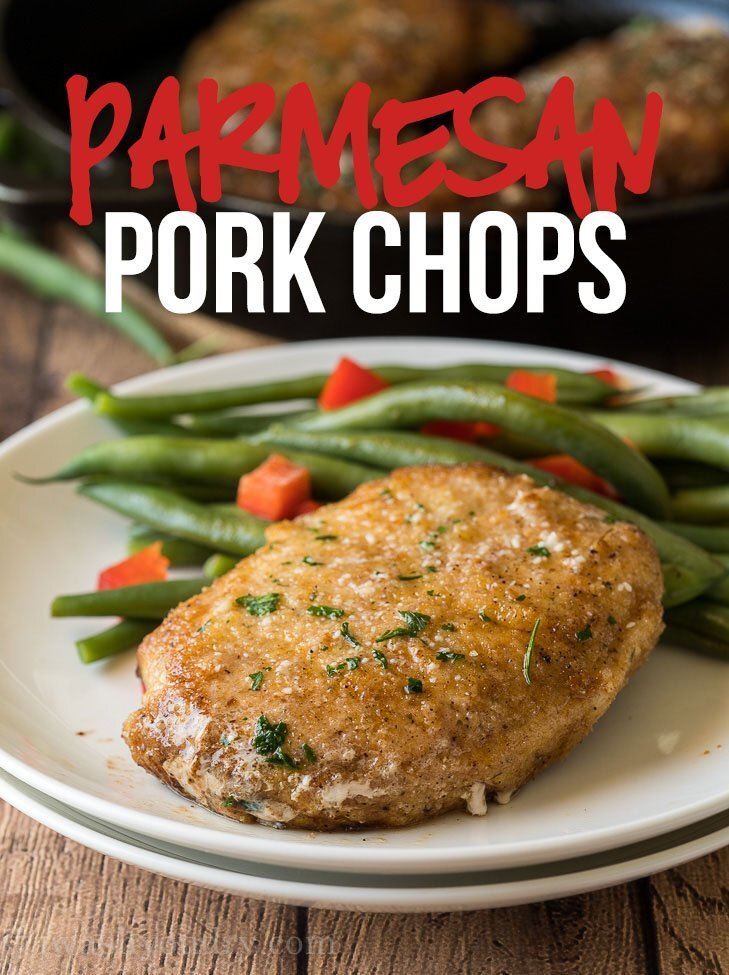
Garlic Parmesan Pork Chop is quite quick to prepare and has a crunchy Parmesan coating on the outside. In collaboration with Land O’Lakes, I’m delighted to provide another dish for a successful weeknight dinner. These incredibly excellent, tender, and fragrant pork chops may be made with only a few simple ingredients. We’re using boneless pork […]
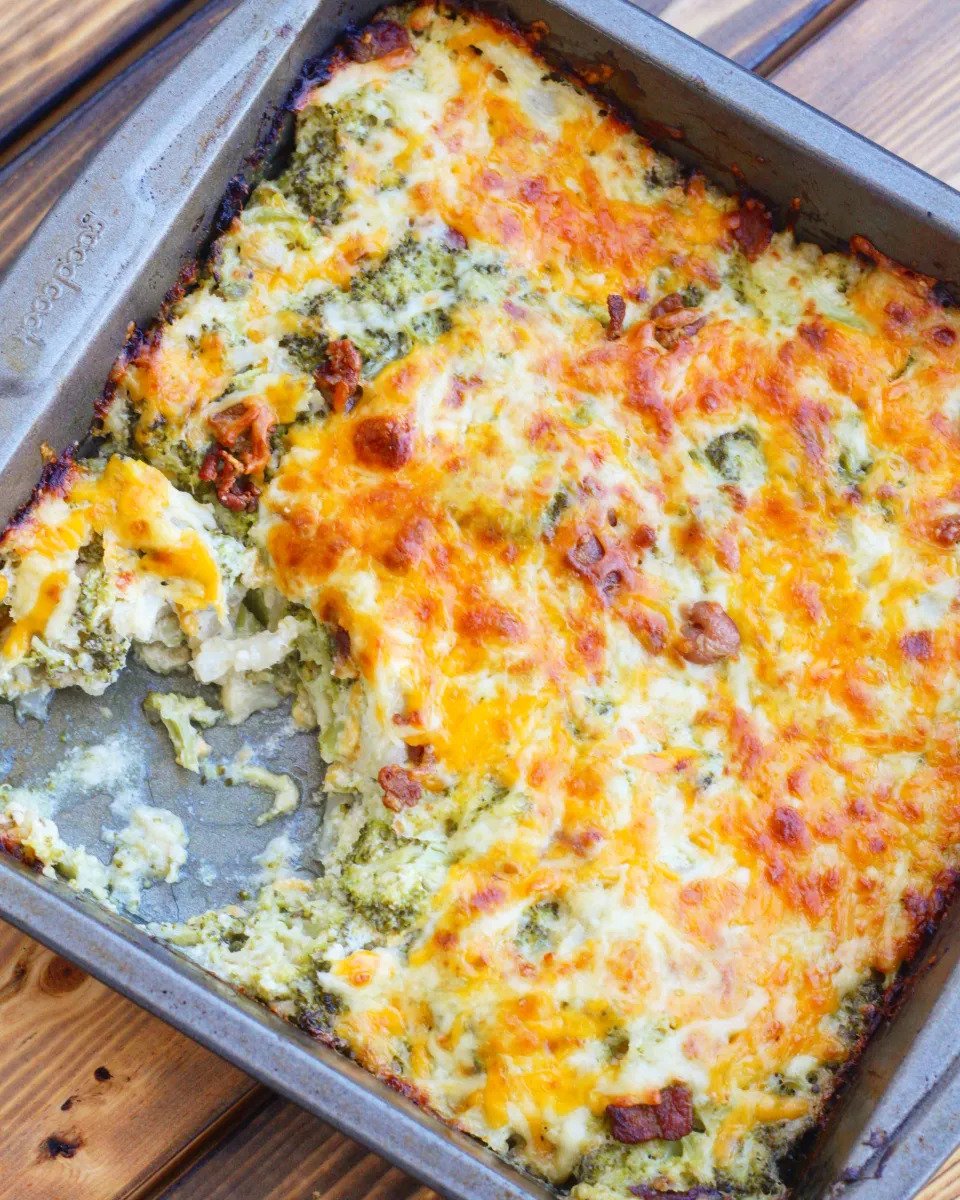
Loaded Cauliflower Broccoli Casserole is the ideal dish to serve as a side dish at supper. This meal is so stuffed with bacon, cheddar cheese, and sour cream that you won’t even notice the absence of potatoes. On the keto diet, I truly miss eating potatoes, but fortunately, I’ve had cauliflower and broccoli in their place, […]
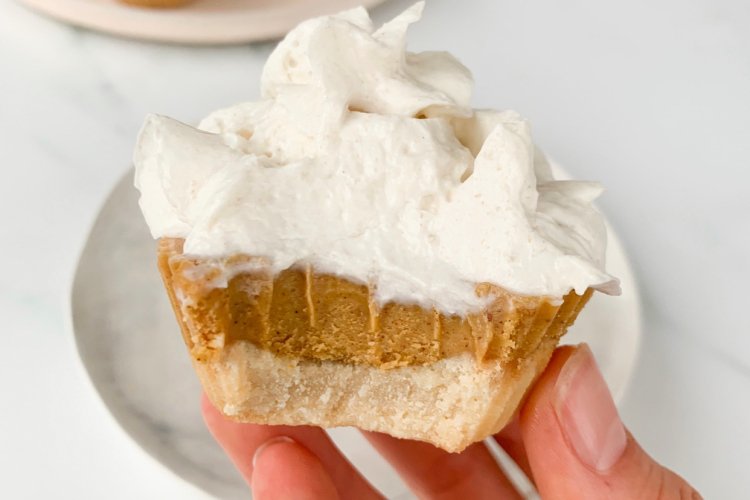
Mini Pumpkin Pie Cups – THE BEST Christmas treat to prepare! They are vegan, gluten-free, and paleo-friendly, but I guarantee no one will ever suspect they are healthier. I adore this recipe since it is so simple to make while yet looking elegant and is a lot of fun to bring to a holiday party. […]
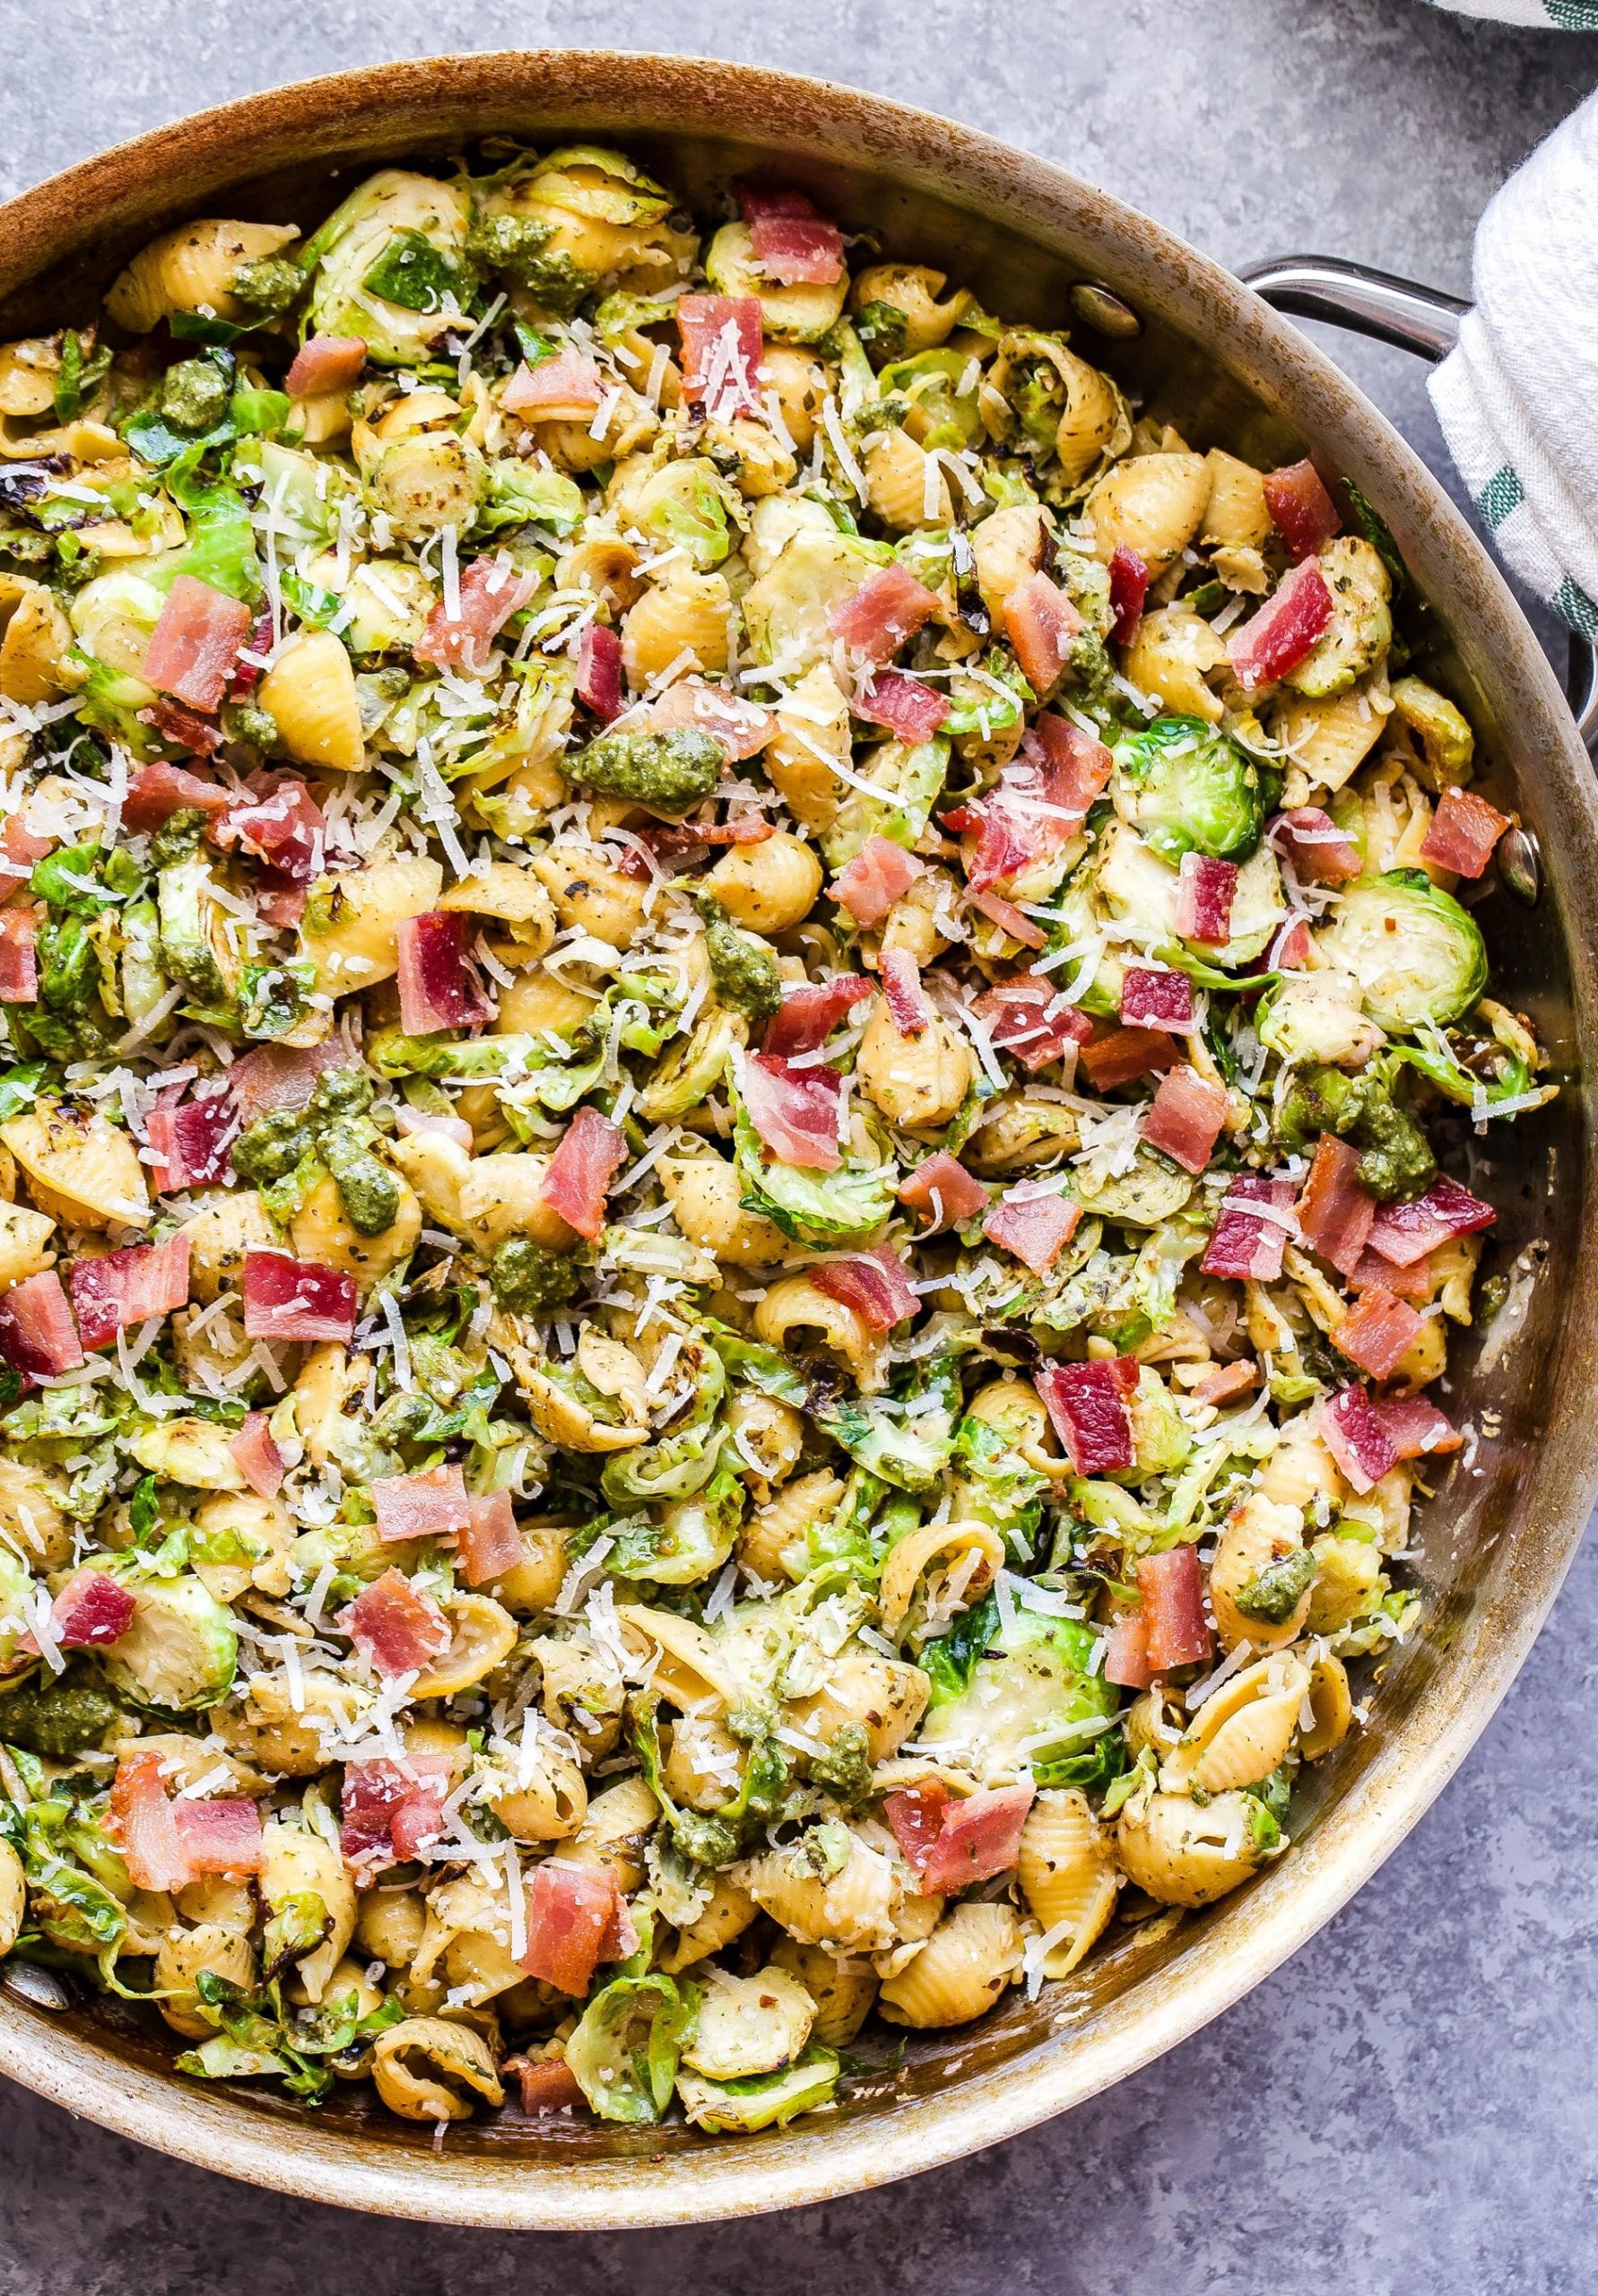
Brussels Sprouts and Bacon Pesto Pasta is a straightforward but filling weeknight supper. Pesto, parmesan cheese, fresh lemon juice, and pasta are combined with chopped brussels sprouts, crisp bacon, and spaghetti. A quick dinner that can be ready in 30 minutes! I felt a quick and simple meal recipe was in order before we go down […]