


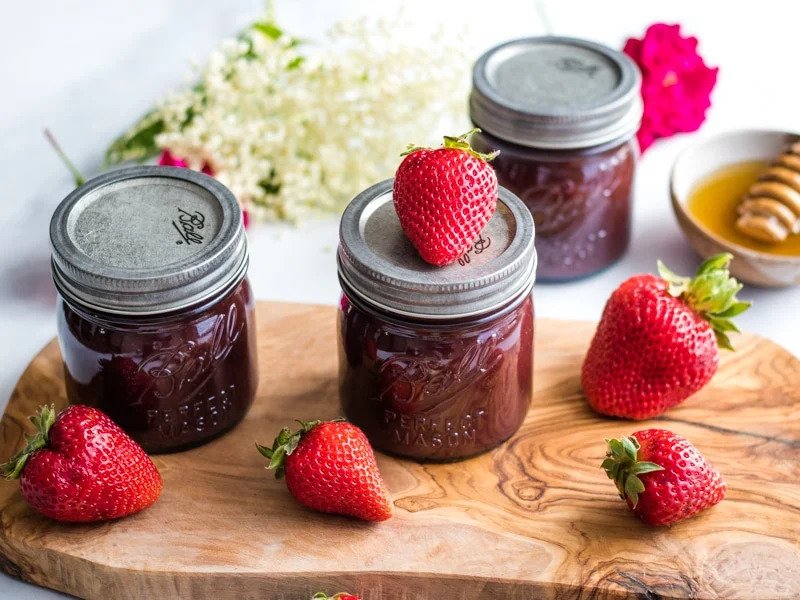
Strawberry Honey Butter: Homemade Preserves
Strawberry Honey Butter is a simple and delectable recipe for homemade jam. Compared to store-bought jam, fresh strawberries and honey make it so much better! There are 4 half-pint jars in each recipe.
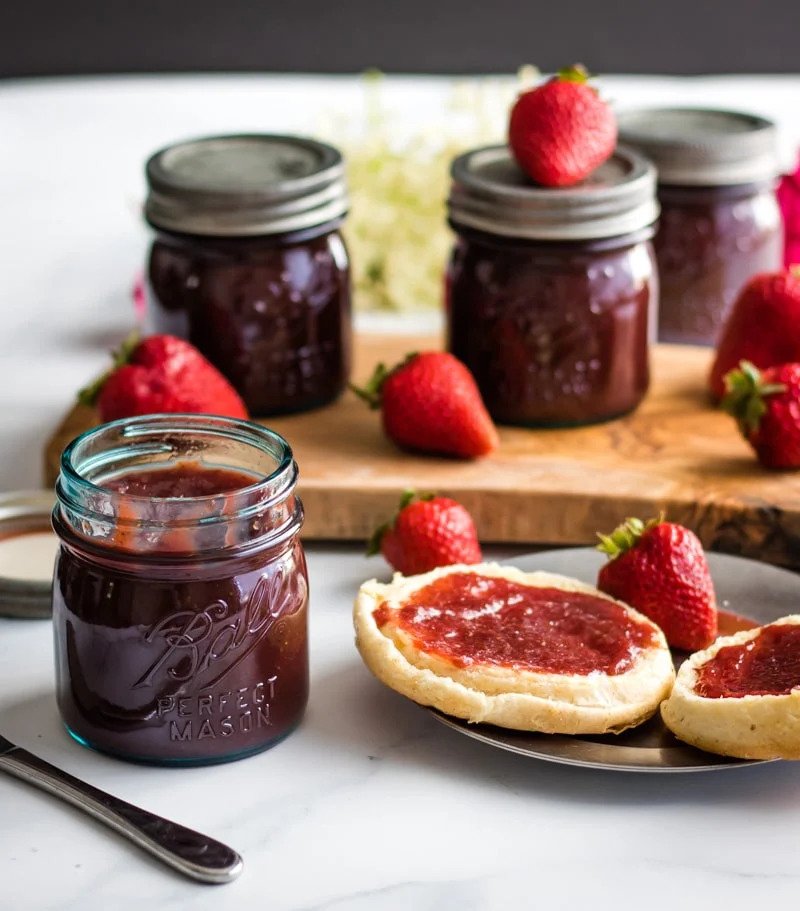
Late spring and early summer means fresh strawberries, and they are always a welcome sight! Whether they are from the garden or overflowing out of baskets at the farmer’s market, I’m always trying to think of new ways to use and preserve them. Strawberries are one of my favorite things to preserve because they are delicious and my family loves strawberry jam. This recipe for strawberry honey butter is truly amazing and I know it will be a new favorite in your household!
Strawberry Honey Butter Equipment
- 4 half-pint Ball® Jars with lids are required as equipment.
- Food processor; large pot; jar lifter; ladle; water bath canner
Ingredients
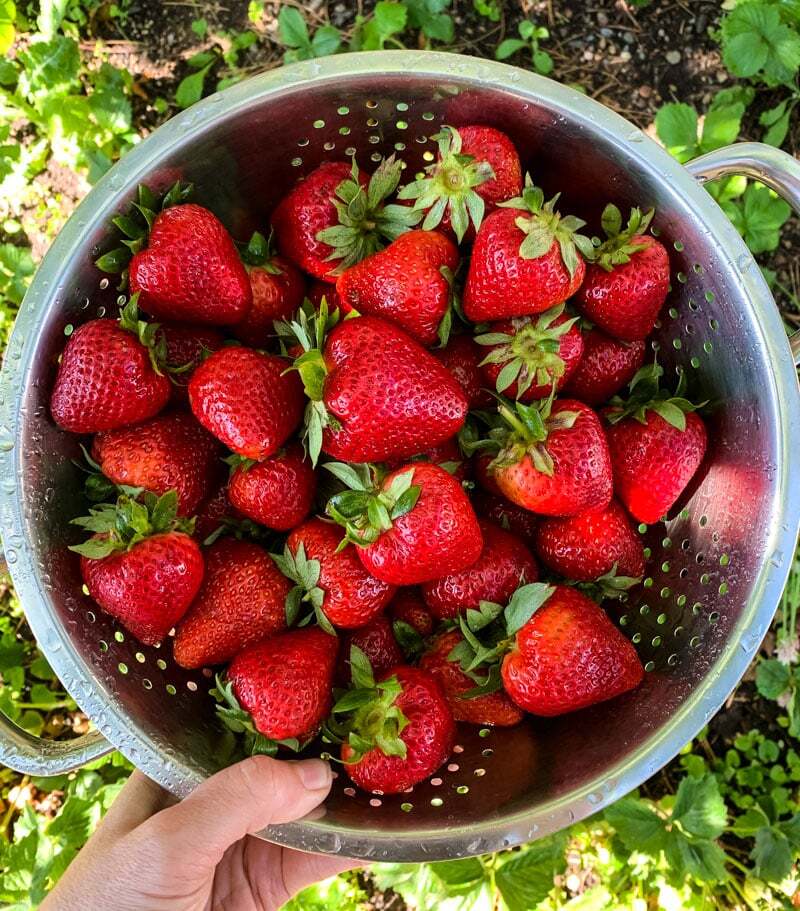
- 3 pounds of cleaned and hulled strawberries
- 3/4 cup of sugar
- 1/4 cup of honey
- 2 teaspoons of vanilla extract
- 1 teaspoon of bottled lemon juice
- 1/4 teaspoon of salt
Guidelines
- Set up your bubbling water canner. Four half-pint jars should be heated but not boiled in simmering water until ready to use. Set aside with bands after washing the lids in warm soapy water.
- In a food processor, puree the strawberries until smooth.
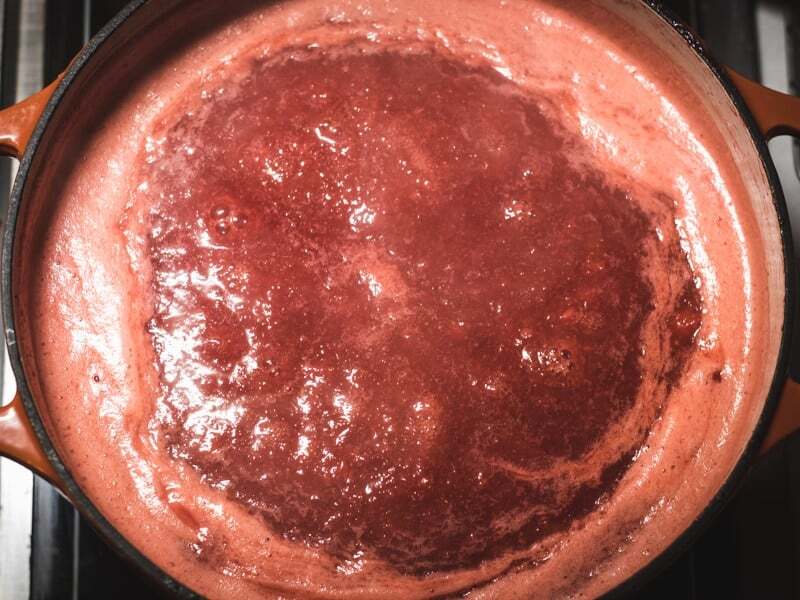
- In a deep pot over medium heat, combine the sugar, honey, lemon juice, vanilla extract, salt, and strawberry puree. Stir frequently as you bring the mixture to a boil to avoid scorching.
- Lower the heat and simmer until the mixture is very thick, about 60-90 minutes, stirring frequently. During the cooking process, the strawberries will release no foam. When the strawberry honey butter holds its shape when spooned, it has finished cooking.
- Grab one canning jar with a jar lifter, set it on a towel or wooden cutting board, and then ladle hot butter into another hot jar, leaving a 1/4-inch headspace. This headspace tool is ideal for removing air bubbles. Wipe the rim of the jar.
- Place the lid on the jar, apply the band, and tighten it to the fingertip. In a boiling water canner, place the jar. Continue until all of the jars are full.
- Process the jars for 10 minutes after the water reaches a boil, adjusting for altitude. Remove the lid, turn off the heat, and let the jars sit in the water for five minutes. The jars should be removed and left to cool completely for 12 to 24 hours. Check the seal on the lids; when the center is pressed, they should not flex.
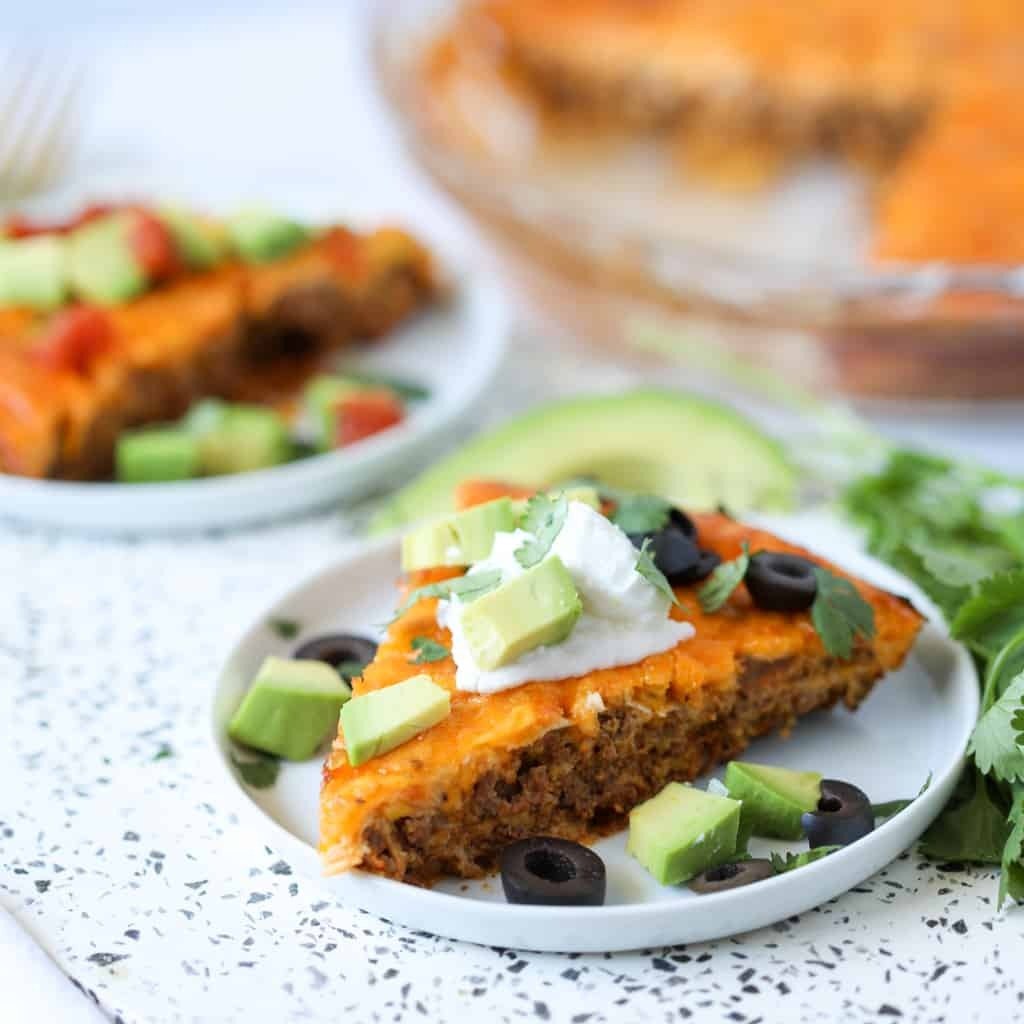
Crustless Taco Pie is a terrific way to experience a change from traditional tacos without adding gluten or refined carbohydrates. Only 3 net carbohydrates per serving! You’ll adore this low-carb taco pie dish, which uses ground beef, a flavorful sauce, lots of cheese, and your preferred taco toppings. Crustless Taco Pie Ingredients 1 pound of 80/20 […]
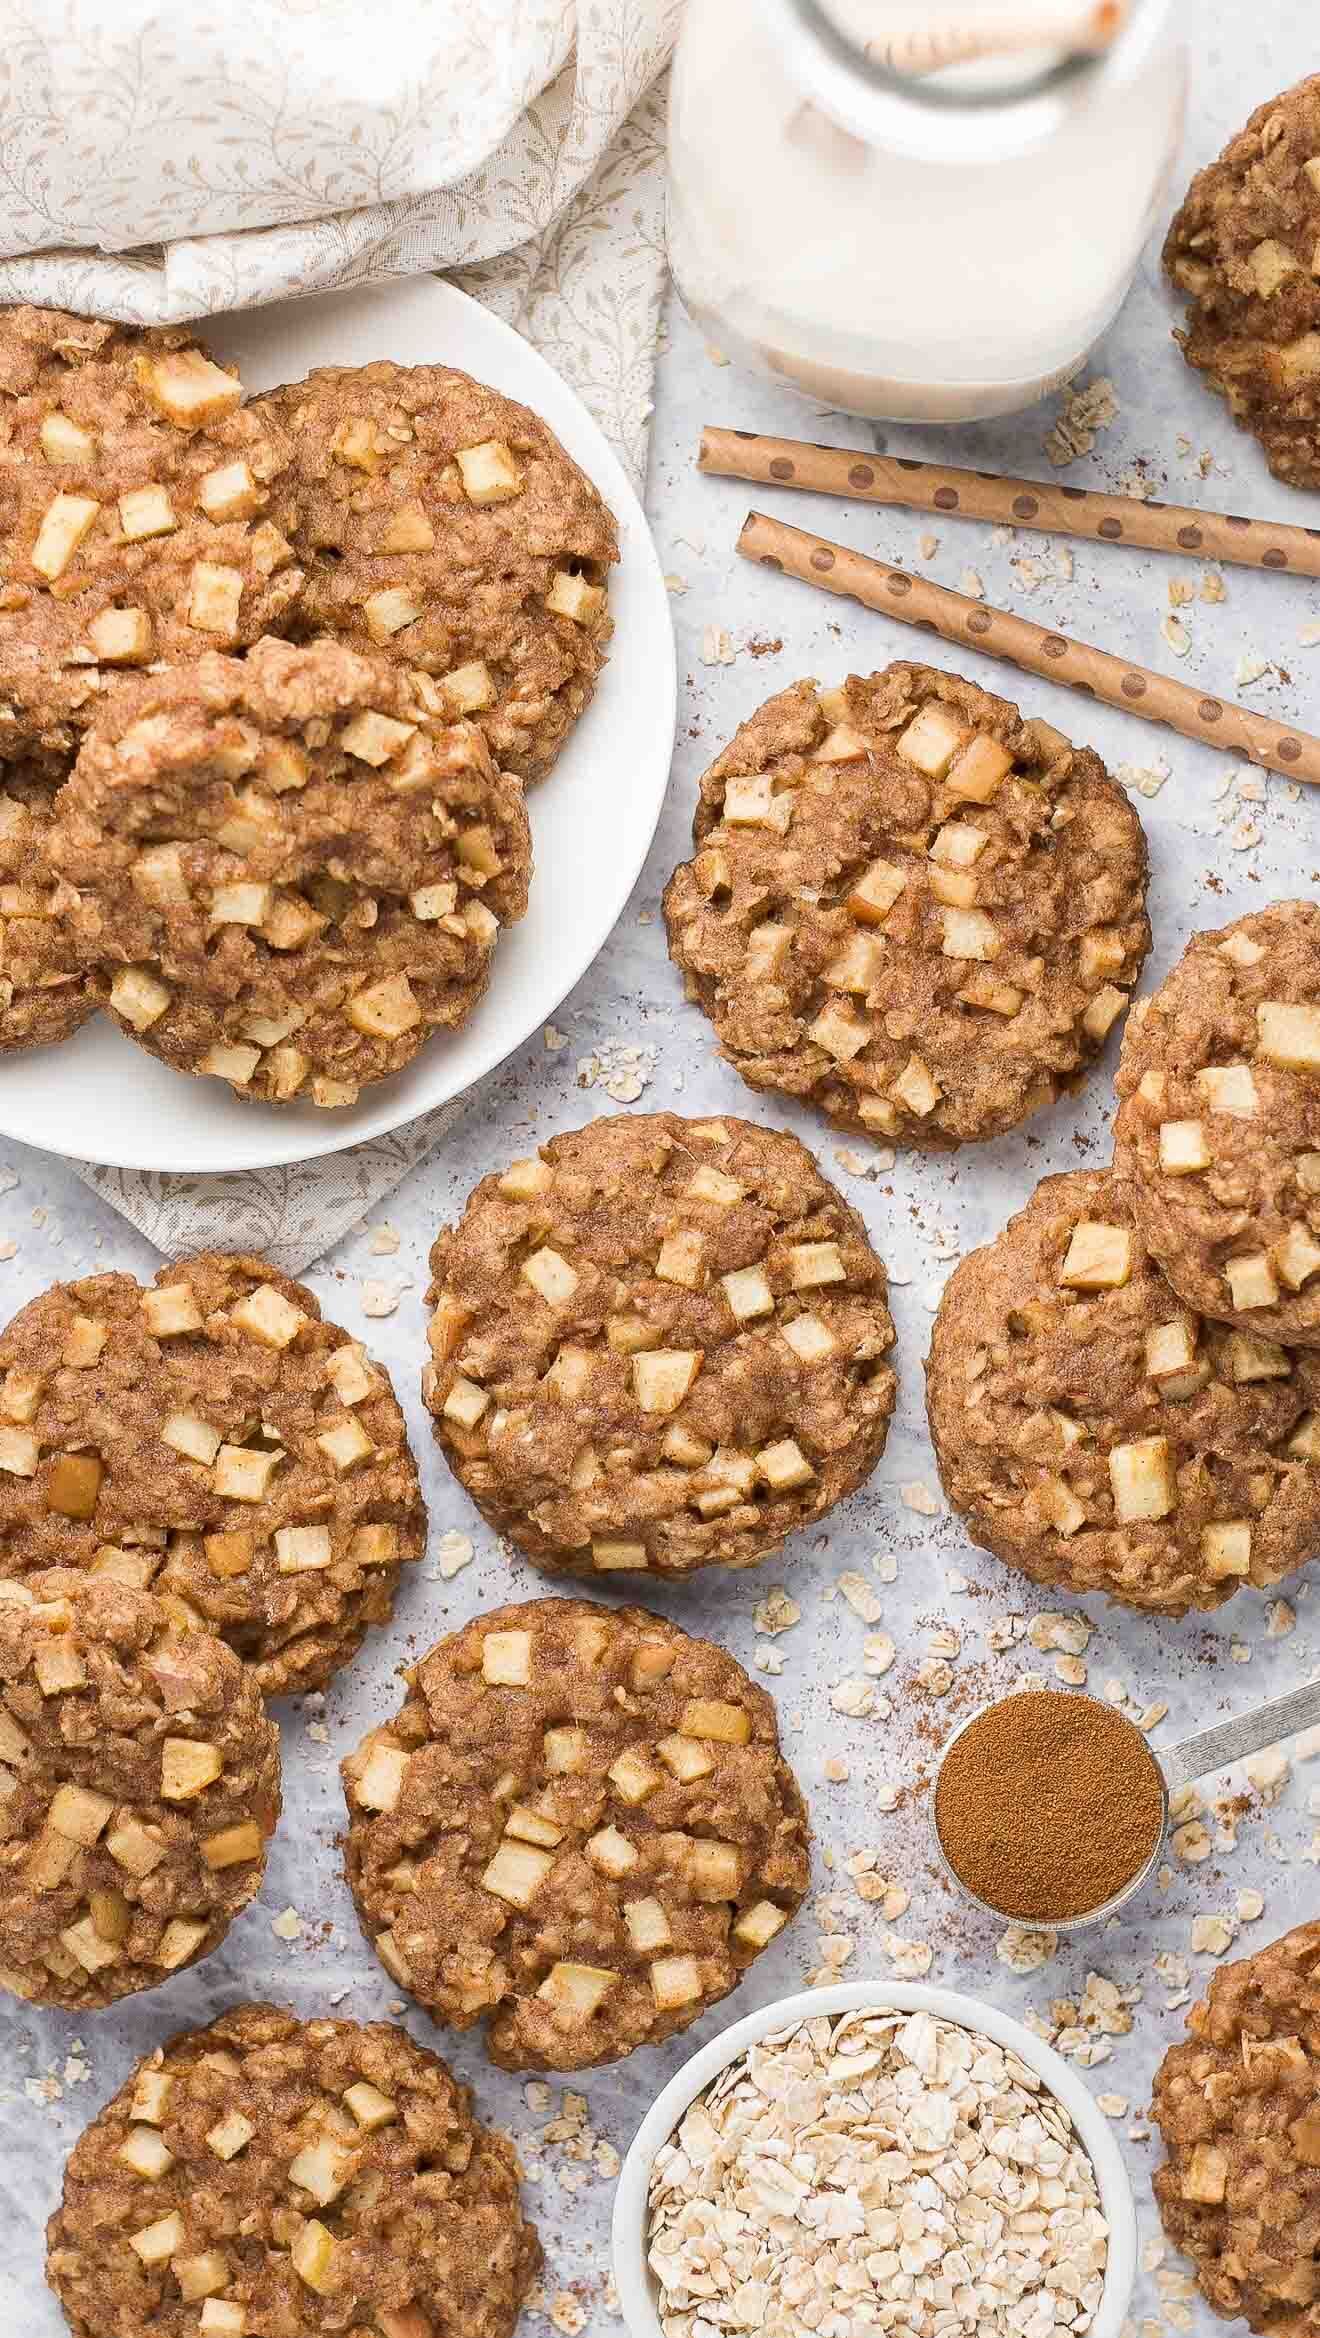
Healthy Apple Pie Oatmeal Breakfast Cookies are ideal for quick breakfasts on-the-go or even snacks! Like the well-known dessert, they are soft and chewy and packed with delicious apples and warming spices. If kept in an airtight container in the refrigerator, leftover cookies will last for at least a week. They also freeze quite well. A […]
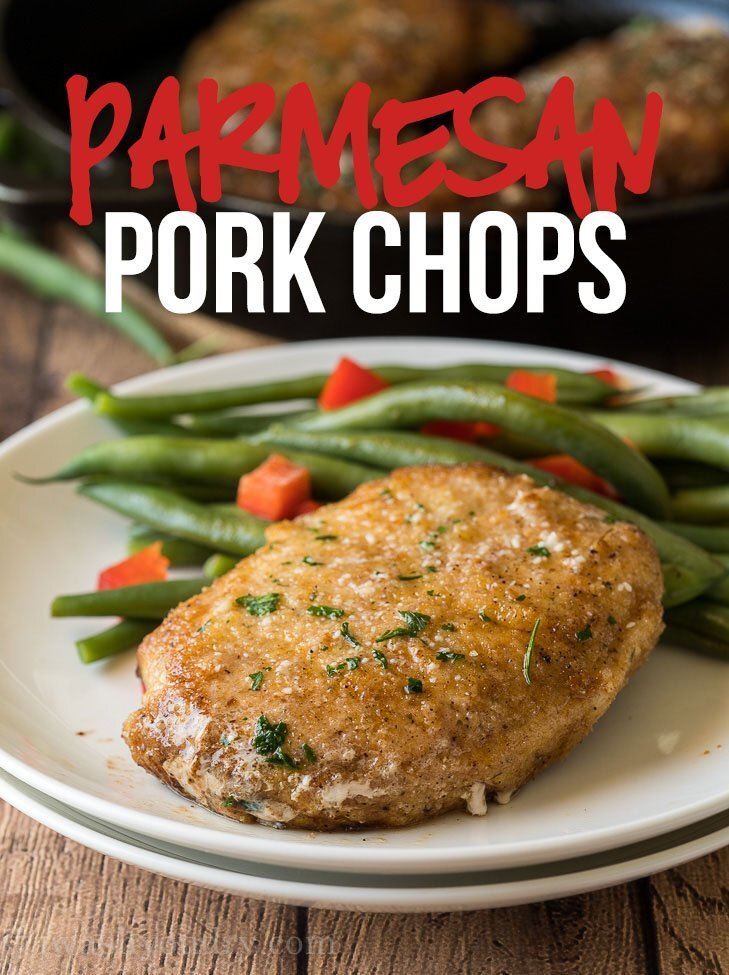
Garlic Parmesan Pork Chop is quite quick to prepare and has a crunchy Parmesan coating on the outside. In collaboration with Land O’Lakes, I’m delighted to provide another dish for a successful weeknight dinner. These incredibly excellent, tender, and fragrant pork chops may be made with only a few simple ingredients. We’re using boneless pork […]
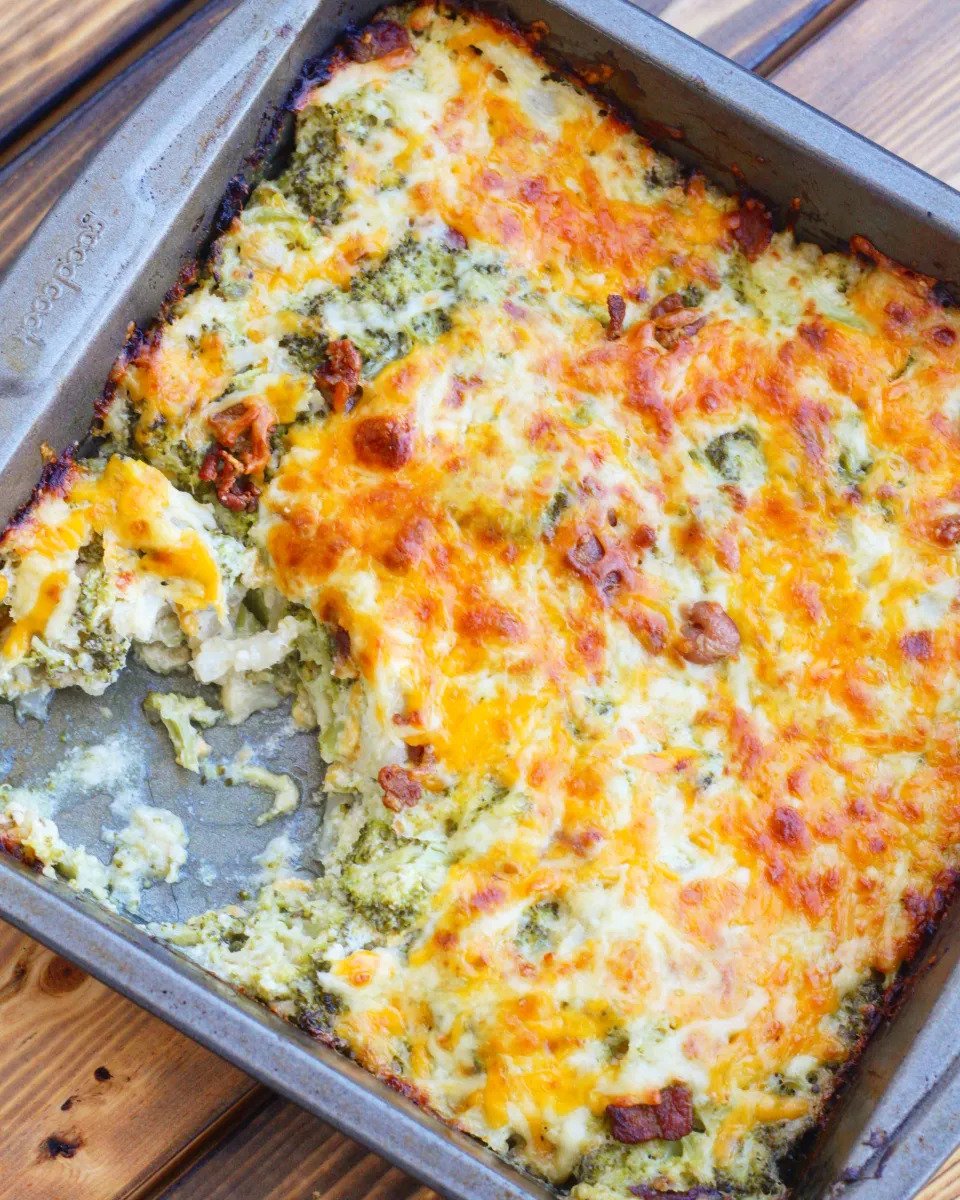
Loaded Cauliflower Broccoli Casserole is the ideal dish to serve as a side dish at supper. This meal is so stuffed with bacon, cheddar cheese, and sour cream that you won’t even notice the absence of potatoes. On the keto diet, I truly miss eating potatoes, but fortunately, I’ve had cauliflower and broccoli in their place, […]
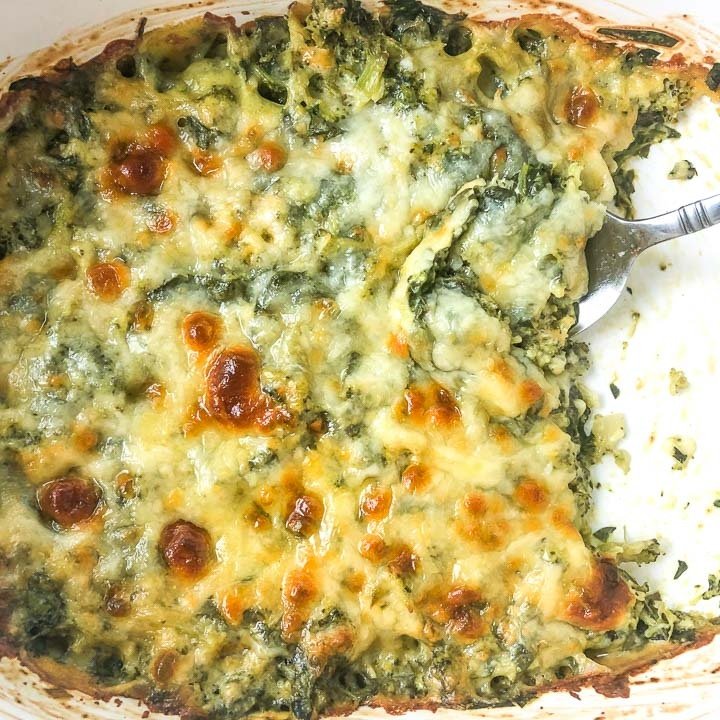
Keto Spinach Broccoli Cheese Casserole is a nutritious comfort food. It produces a delectable low carb side dish. With only 2.6g net carbohydrates, this creamy and cheesy vegetable casserole is perfect for a holiday feast. Your family will adore the flavor of this broccoli cheese casserole even if you are not following a ketogenic diet. Who […]
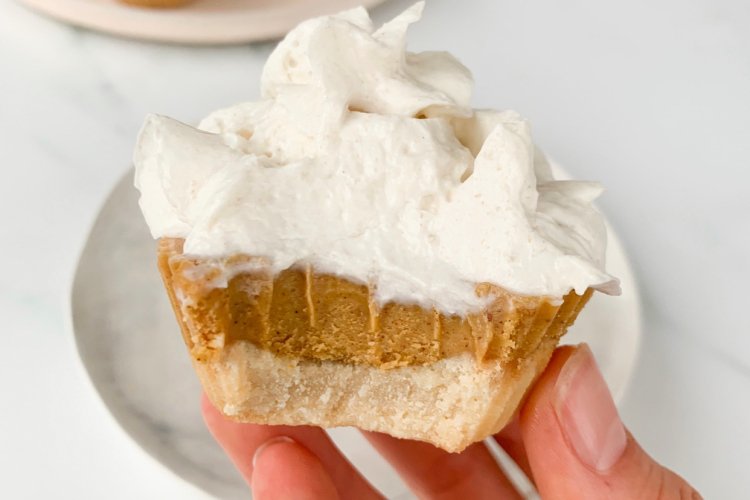
Mini Pumpkin Pie Cups – THE BEST Christmas treat to prepare! They are vegan, gluten-free, and paleo-friendly, but I guarantee no one will ever suspect they are healthier. I adore this recipe since it is so simple to make while yet looking elegant and is a lot of fun to bring to a holiday party. […]